What Is a Bearish Harami?
A bearish harami is a classic two-bar Japanese candlestick pattern that suggests a potential downward reversal following a strong upward trend.
The term “Harami” comes from the Japanese word for pregnant, describing how the smaller candle (the “baby”) fits completely inside the larger one (the “mother”).
In technical terms, this pattern appears when:
- A long-bodied green candle (representing strong bullish momentum)
- Is followed by a smaller red candle whose high and low are contained within the prior candle’s body.
This contraction signals loss of buying momentum and the possibility of bearish control taking over.
Understanding the Psychology Behind the Bearish Harami
The psychology of this pattern reveals a shift in sentiment:
- First Candle (Bullish Control):
The large green candle shows that buyers are in charge, pushing prices higher. - Second Candle (Loss of Momentum):
The small red candle, confined within the prior body, suggests buyers have lost confidence, while sellers are testing control.
This subtle change often precedes a trend reversal or at least a short-term pullback.
Structure of the Bearish Harami Pattern
| Element | Description |
|---|---|
| Number of Candles | 2 |
| Candle 1 | Long-bodied green candle showing bullish strength |
| Candle 2 | Small red candle contained within the previous body |
| Trend Context | Forms after an uptrend |
| Indication | Potential reversal to the downside |
Visual Representation
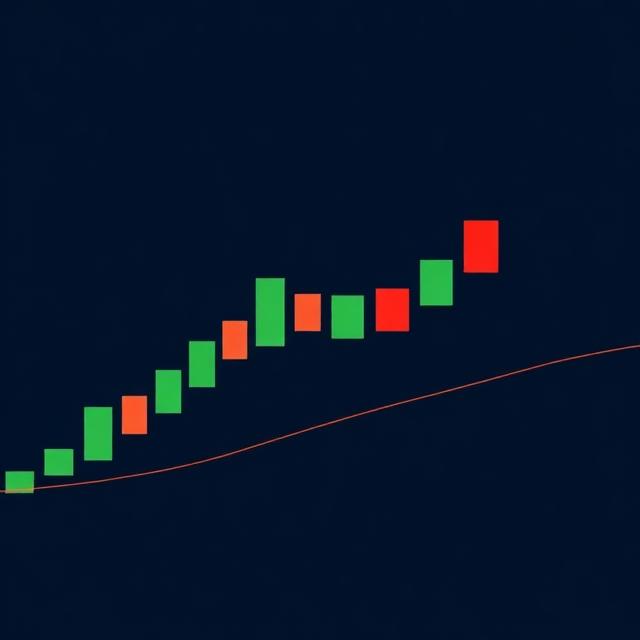
Imagine a large bullish candle followed by a small bearish candle sitting comfortably inside it — like a smaller shape “nested” within a larger one.
How to Identify a Bearish Harami
When analyzing a price chart, look for these conditions:
- A clear upward trend preceding the pattern.
- A large green candle followed by a smaller red candle.
- The entire body (open and close) of the red candle fits within the green candle’s body.
- A potential volume drop or divergence in momentum indicators like RSI or MACD.
Trading the Bearish Harami Pattern
1. Entry Strategy
Traders typically enter a short position once the price breaks below the low of the red candle (the “harami” candle).
- Conservative traders wait for additional confirmation — such as a close below the pattern or confirmation from RSI or MACD.
- Aggressive traders may enter immediately after the pattern appears, anticipating the reversal early.
2. Stop-Loss Placement
To manage risk, a stop-loss is usually placed:
- Above the high of the harami candle, or
- Above the high of the large bullish candle if more room is desired.
3. Profit Targets
- Use support levels or Fibonacci retracements to set profit zones.
- Exit when RSI enters oversold territory or when MACD shows a bullish crossover.
4. Example Setup
Suppose a stock rises steadily for several sessions, forming a large green candle.
The next day, a small red candle appears fully inside the previous body.
Once the price breaks below that smaller candle’s low, it confirms a bearish harami, signaling an opportunity to short the stock.
Confirming the Bearish Harami with Technical Indicators
The bearish harami gains more credibility when combined with momentum and volume analysis:
- RSI (Relative Strength Index):
A reading above 70 (overbought) during the pattern’s formation strengthens the bearish reversal case. - MACD (Moving Average Convergence Divergence):
Look for a bearish crossover or a divergence where price makes higher highs but MACD makes lower highs. - Volume:
A drop in volume during the red candle can confirm waning buying pressure. - Moving Averages:
If the pattern appears below a 200-day moving average, it further supports the bearish signal.
Bearish Harami vs. Bullish Harami
| Feature | Bearish Harami | Bullish Harami |
|---|---|---|
| Location | At the top of an uptrend | At the bottom of a downtrend |
| First Candle | Long green candle | Long red candle |
| Second Candle | Small red candle inside prior body | Small green candle inside prior body |
| Implication | Possible reversal to bearish | Possible reversal to bullish |
Both patterns are part of the harami family and indicate market indecision, but in opposite directions.
Common Mistakes When Trading the Bearish Harami
- Ignoring the Trend Context:
The pattern is meaningful only after an uptrend — not in sideways markets. - Skipping Confirmation:
Entering trades without RSI, MACD, or volume confirmation increases false signals. - Setting Tight Stop-Losses:
Because markets can fluctuate, overly tight stops may close trades prematurely. - Relying Solely on the Pattern:
Always combine candlestick analysis with broader technical and fundamental context.
Limitations of the Bearish Harami Pattern
While useful, this pattern is not 100% reliable:
- It can generate false reversals during strong bullish markets.
- It only considers two candles, ignoring broader market structure.
- Effectiveness depends on market conditions, timeframe, and volume context.
Therefore, it’s best used as one component of a multi-factor trading strategy.
Example of Bearish Harami in Action
In late-stage rallies, such as during a parabolic uptrend in tech stocks, traders might notice a bearish harami near resistance.
Once confirmed with declining RSI and rising selling volume, it often precedes a pullback or correction — giving short-term traders ideal entry opportunities.
Practical Trading Tips
- Wait for confirmation before entering.
- Combine with RSI, MACD, or moving averages.
- Avoid low-volume setups.
- Backtest the pattern on your preferred timeframes.
- Record outcomes to refine strategy and improve discipline.
Final Thoughts
The bearish harami is a valuable early warning signal of potential trend reversals.
While it doesn’t guarantee a drop, it helps traders recognize weakening bullish pressure and prepare for possible downside.


